
Find out how to draw and how to make ANZAC Day poppies with your children to commemorate ANZAC Day this year. This easy craft activity for ANZAC Day is a wonderful way to to involve your kids in the tradition of this important event.
Brief History of ANZAC Day Poppies | Red Poppies
Today, the red poppy is recognized worldwide as a symbol of respect for the immense contribution and loss of life of those who have served in wars of the past and those who continue to serve today. Initially gaining recognition after Canadian John McCrae penned the famous poem, ‘In Flanders Fields’, the poppy is now synonymous with both Remembrance Day (November 11th) and ANZAC Day (April 25th). Across Australia and New Zealand, the poppy is most commonly seen worn over the hearts of people in these countries on ANZAC DAY each autumn.
How to Draw ANZAC Poppies for Kids
Getting your children involved in hands-on projects can be a great teaching tool when helping young children learn about ANZAC Day. Visuals and artwork can help children understand the significance of ANZAC day which is why we’ve come up with this unique way to teach kids to draw ANZAC poppies all on their own.
Here’s what you will need:
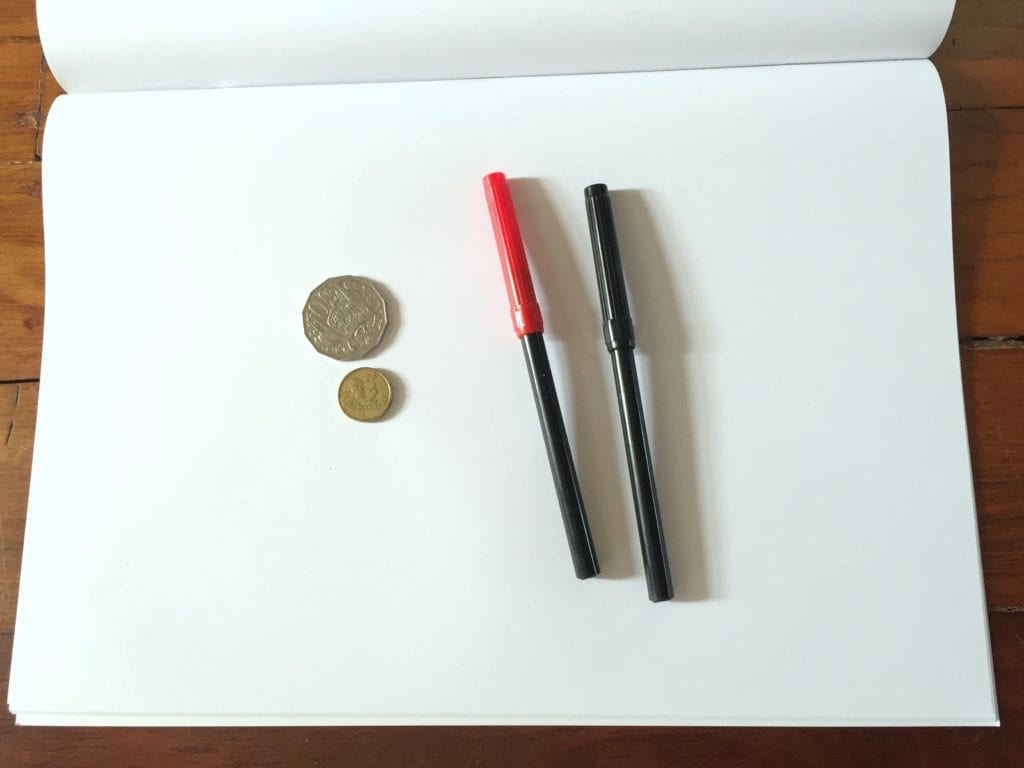
- Plain white paper
- One AUD $2 coin
- One AUD 50¢ coin
- Coloured pencils or fine tip markers – one red and one black
Step 1 – Determine the placement of the poppy
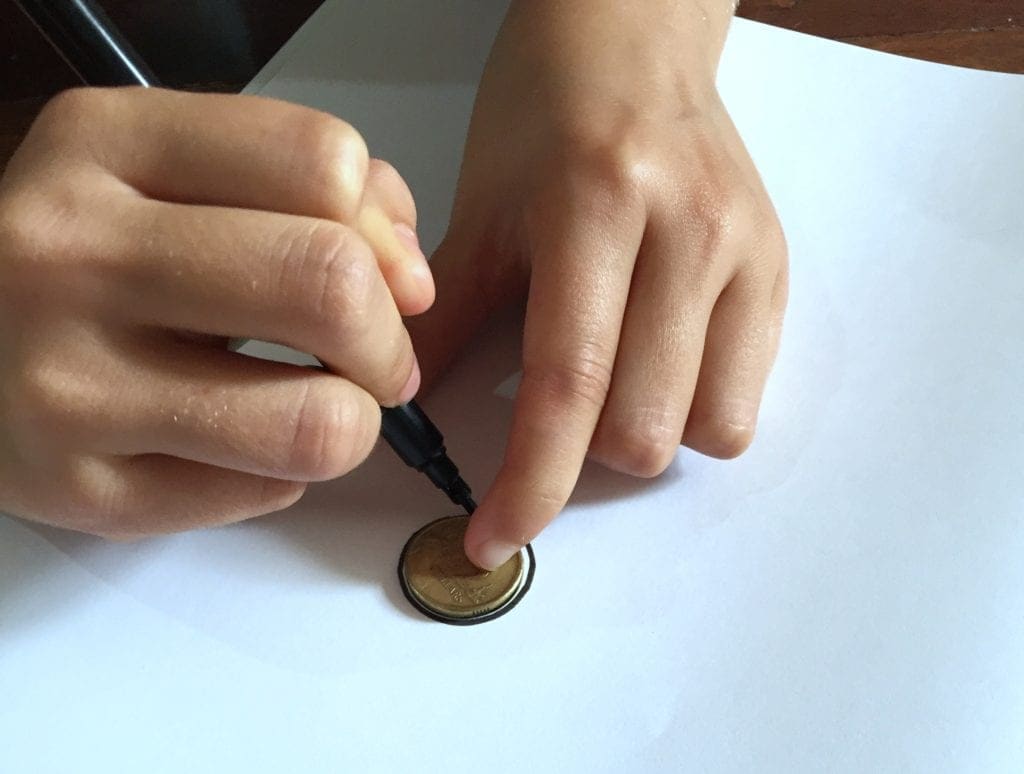
Place the $2 coin where you would like the centre of your poppy to be. Carefully trace around the edge of it with the black marker or pencil. Parents may need to help younger children hold the coin in place.
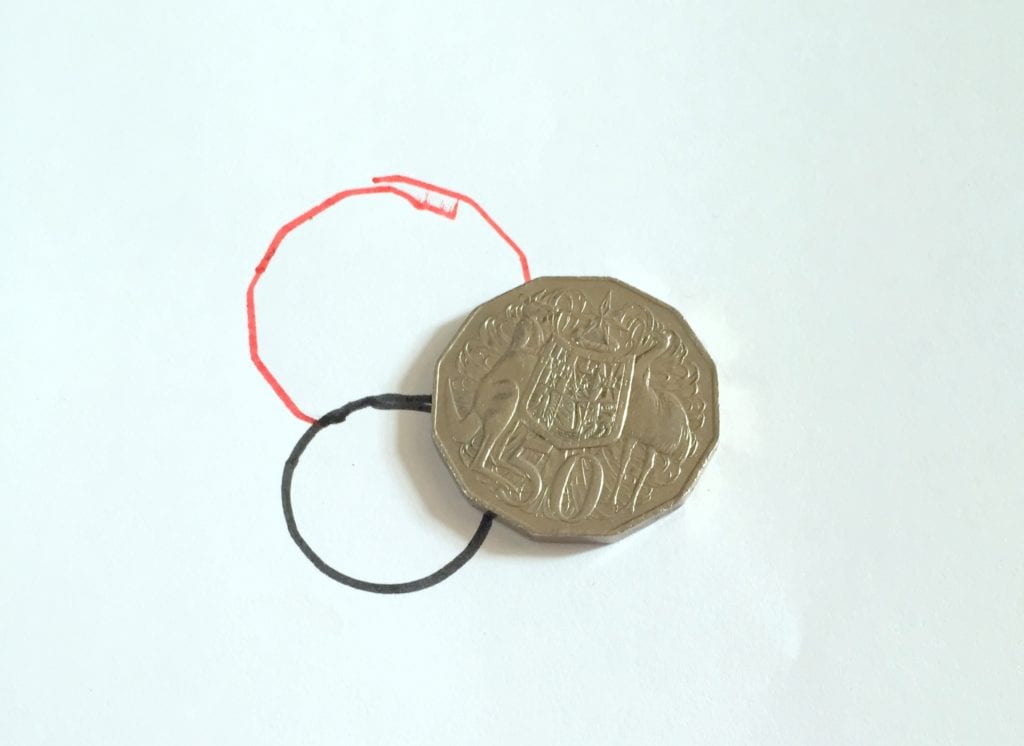
Step 2 – Add the first petal to your poppy
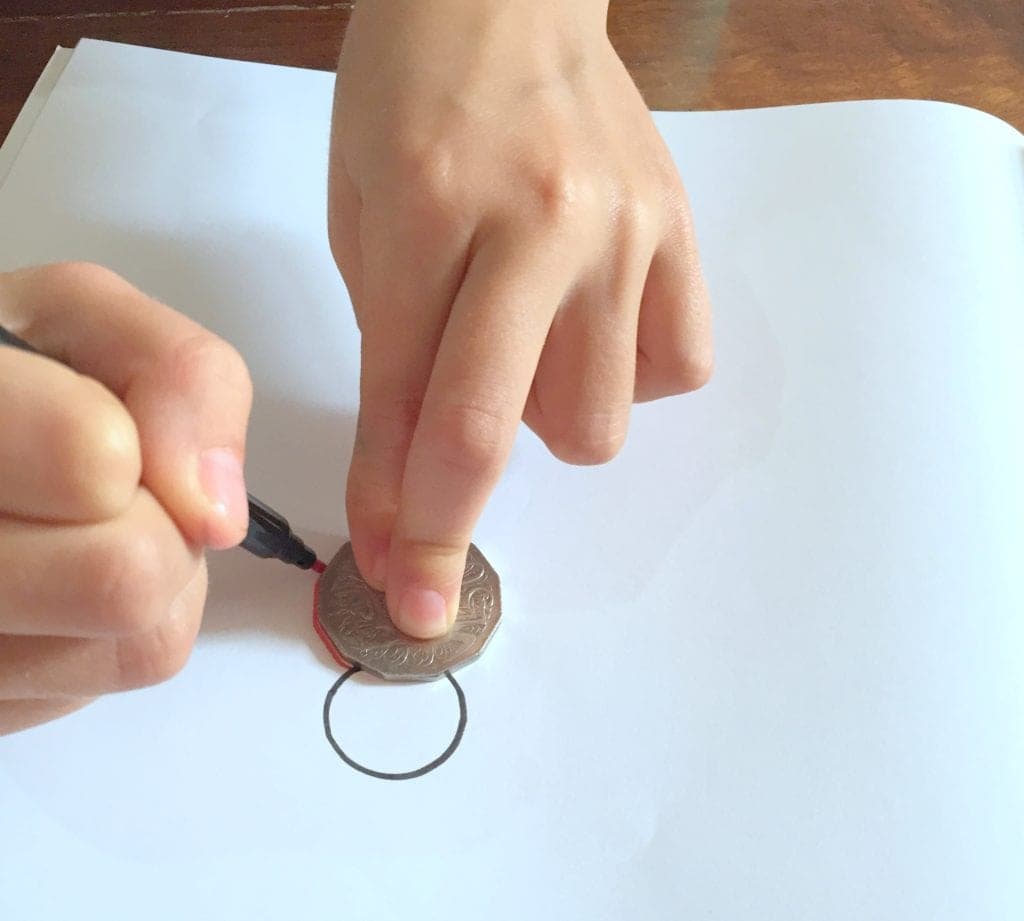
Position the 50¢ coin at the top of the black circle that you just drew with the bottom edge of the coin overlapping slightly with the top of the circle. Holding firmly in place, trace along the outer edge of the coin in red, starting where the edge of the coin overlaps the black circle and continuing clockwise up and around the top of the coin to where the other side of the coin meets the black circle. You do not want to overlap the tracing of the 50¢ with the black circle.
Step 3 – Adding the rest of the petals to your poppy
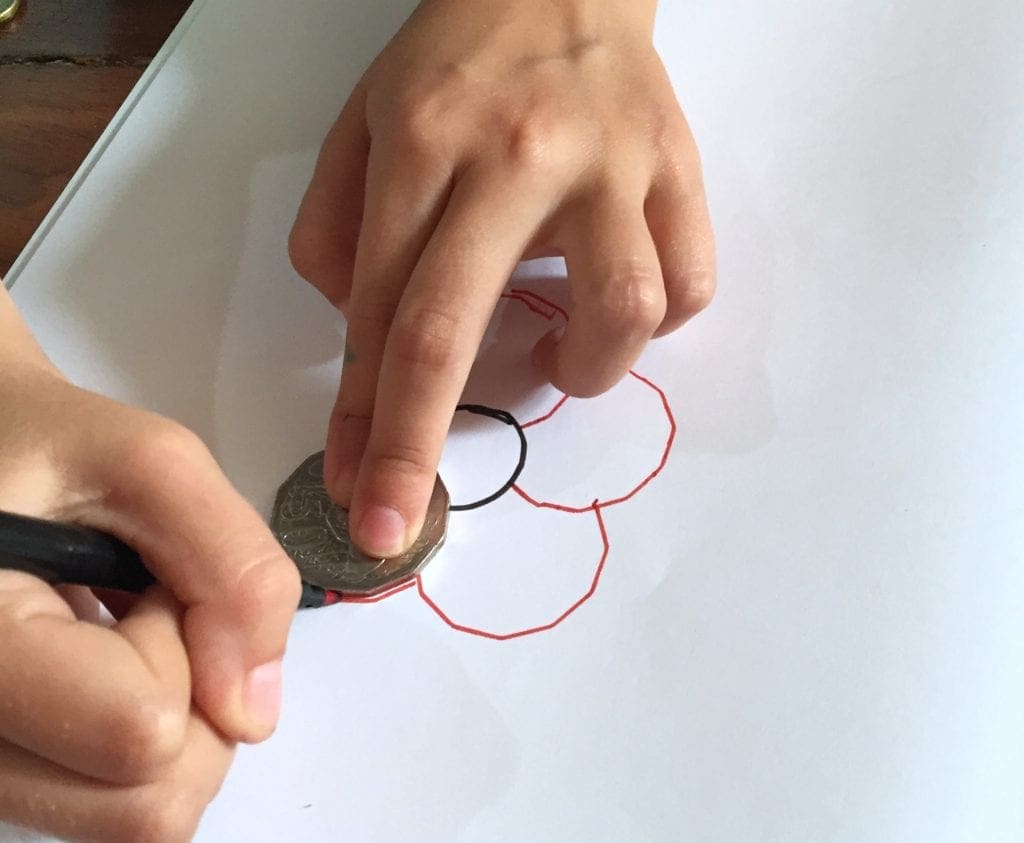
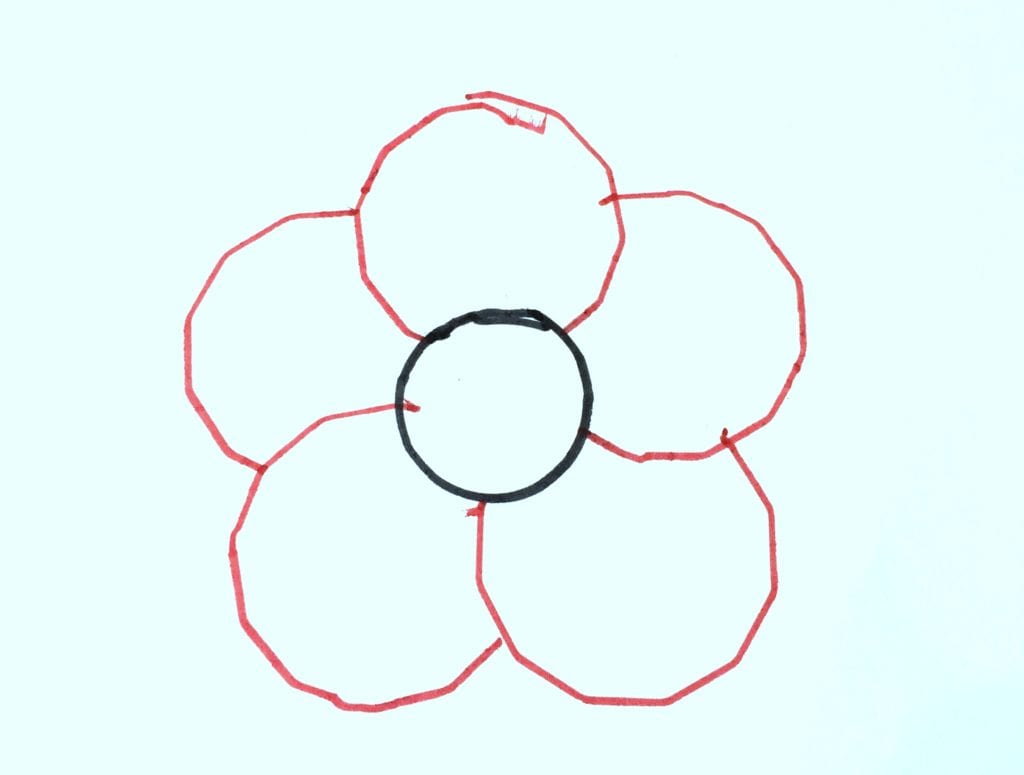
Still using the 50¢ coin, move it to the right, slightly overlapping the first petal and the black circle at the same time. Trace around the outer edge of the coin without crossing any other lines from the previous petal or the centre circle. Continue to move the coin clockwise, overlapping the previous petal slightly. Trace along the outer edge again and continue to add three more petals to complete your poppy.
How to Make ANZAC Poppies for Kids
If you want to take it a step further, we’ve come up with a fun craft idea to teach kids how to make their very own ANZAC poppy to wear proudly on April 25th. Kids six and older should be able to make this on their own with minimal assistance but littler ones will need mum or dad’s help.
Here’s what you will need:
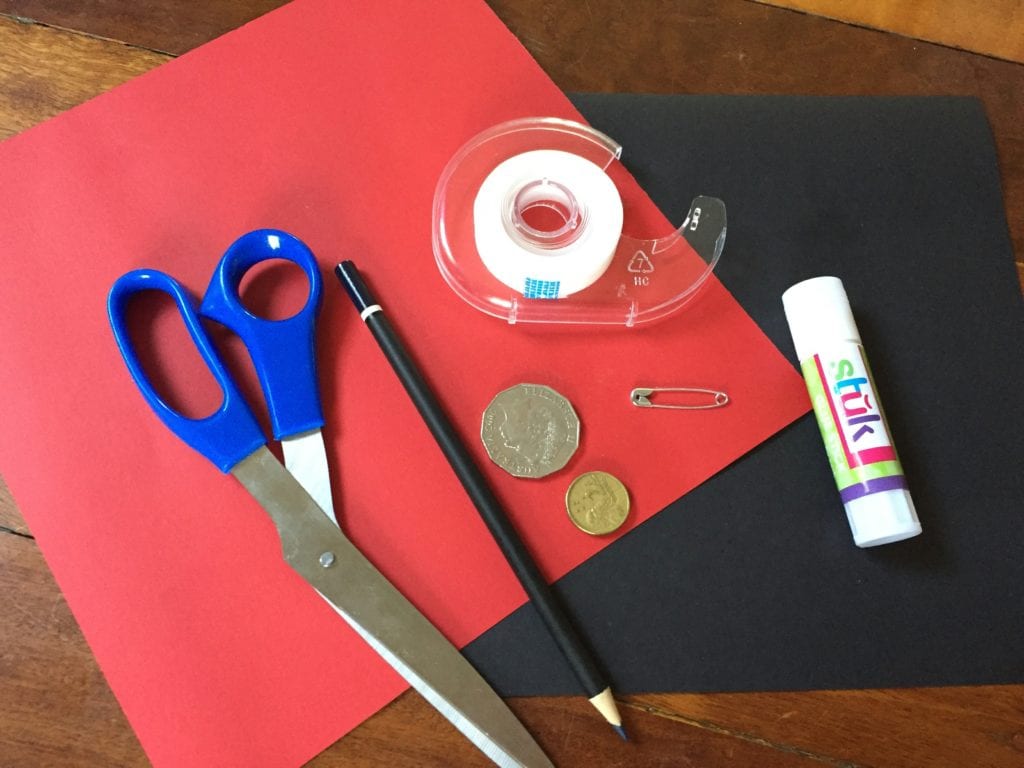
- Red and black craft paper, regular A4 size will be plenty
- One AUD $2 coin
- One AUD 50¢ coin
- One black coloured pencil or marker
- Glue Stick
- Safety pin
- Sticky tape
Step 1 – Make the centre of the poppy with the black paper
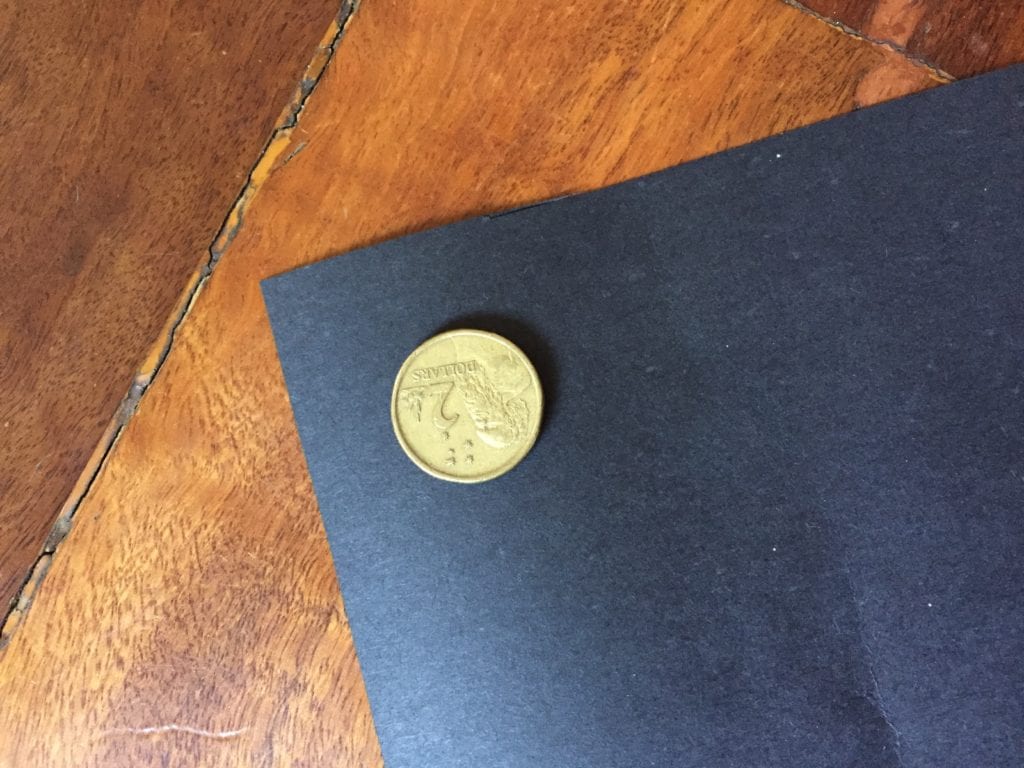
Place the $2 coin on the black paper and trace around the outer edge. When completed, cut out the circle and set it aside.
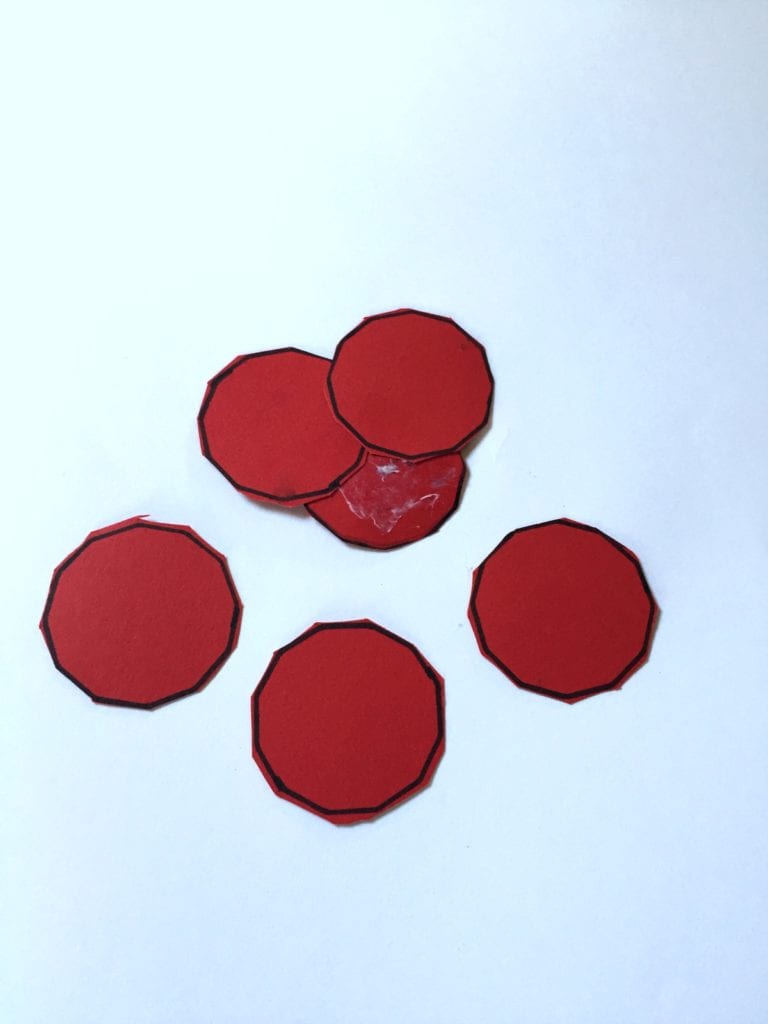
Step 2 – Make the red petals of the poppy

Position the 50¢ coin in the top left corner of the red craft paper. Hold it steady and trace around the outer edge. Once complete, move the coin over at least a centimetre and trace an additional circle. Continue to move the coin around the paper until you have 6 circles – leaving enough space between them to cut them out. Once the six circles have been drawn, carefully cut each one out and set aside.
Step 3 – Glue the poppy together

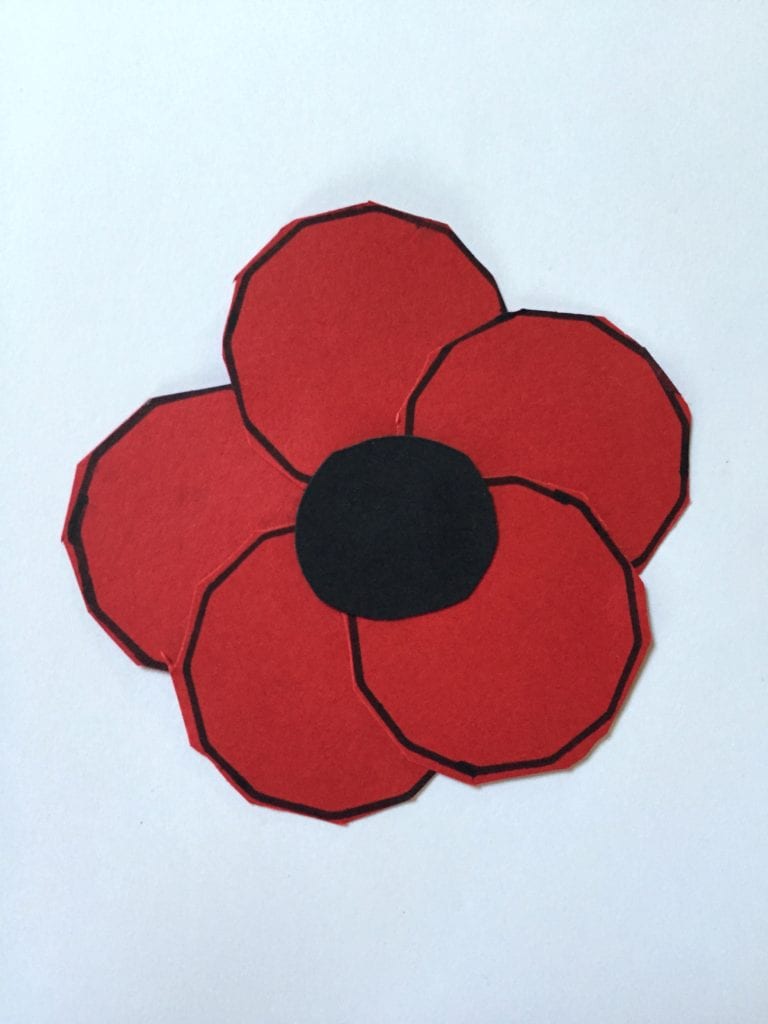
Lay out all of the red circles on a flat surface, with one in the middle, and the other 5 around the outside of it. Completely cover the middle circle with glue. Place the bottom edge of the first petal onto the centre circle. Continue to place the additional petals around the edge of the centre circle, slightly overlapping the petals and adding more glue as needed. Once all of the petals have been attached, glue the black circle in the centre.
Step 4 – Adding the pin to the back of the poppy
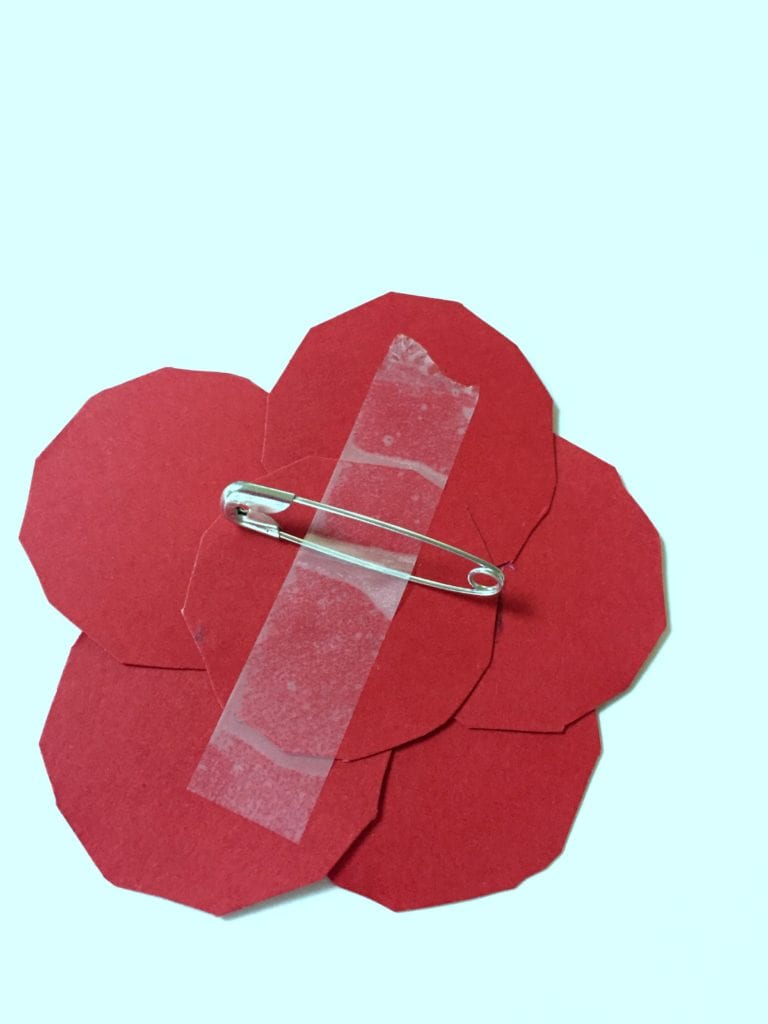
Flip the poppy over and place the safety pin in the center. Cut a small piece of tape roughly 5cm long. Feed the tape through the centre of the pin and tape the pin to the back of the poppy. Be sure that you don’t tape down the side of the pin that opens!
Step 5 – Proudly wear your ANZAC Day poppy!
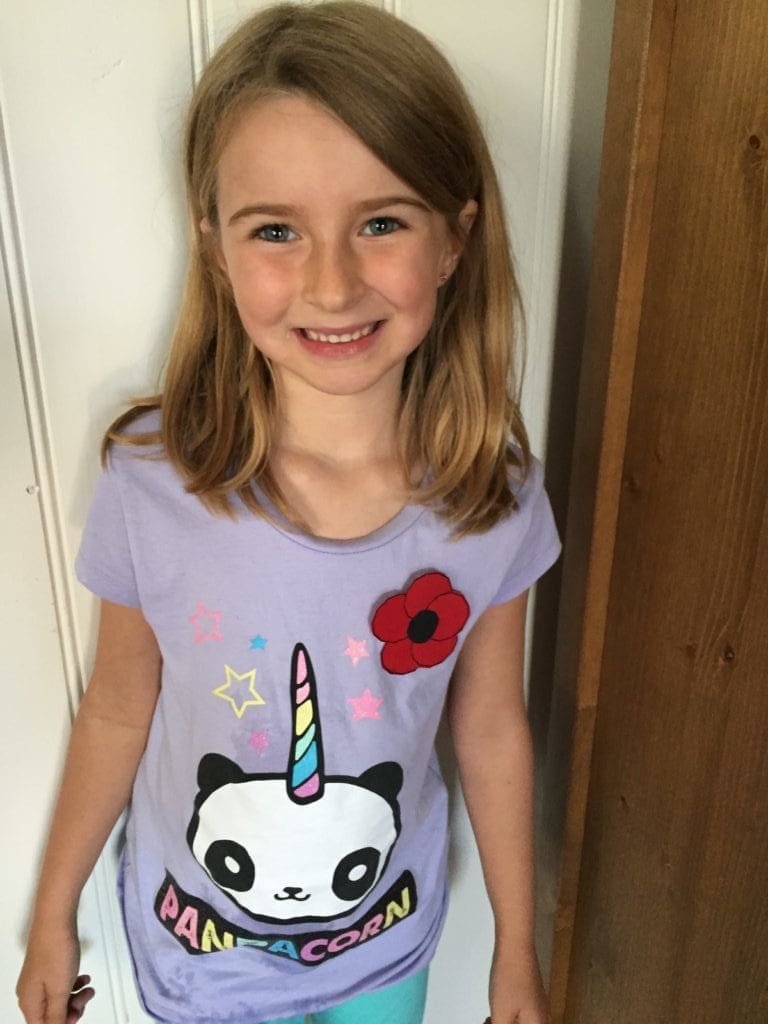
With this simple and fun craft, kids can wear their poppy proudly on April 25th!