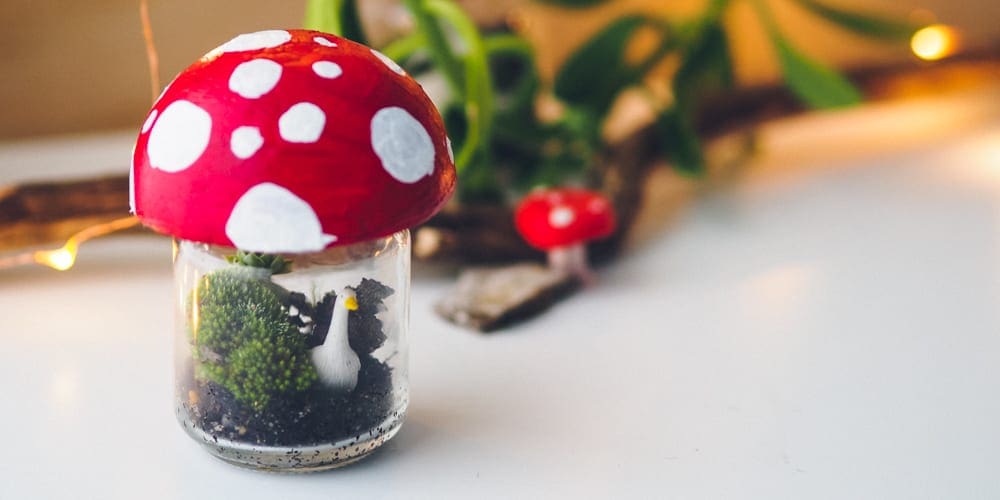
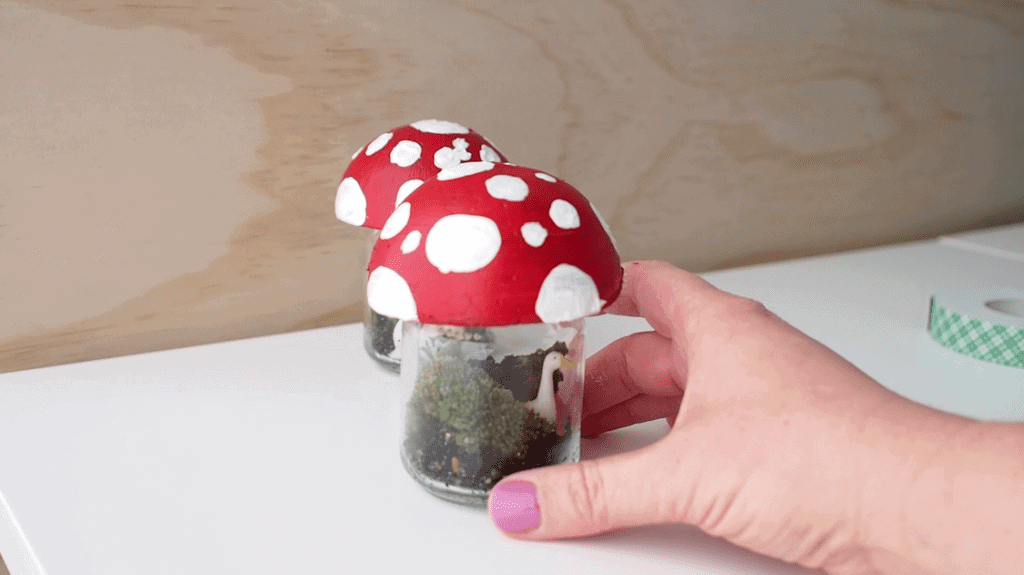
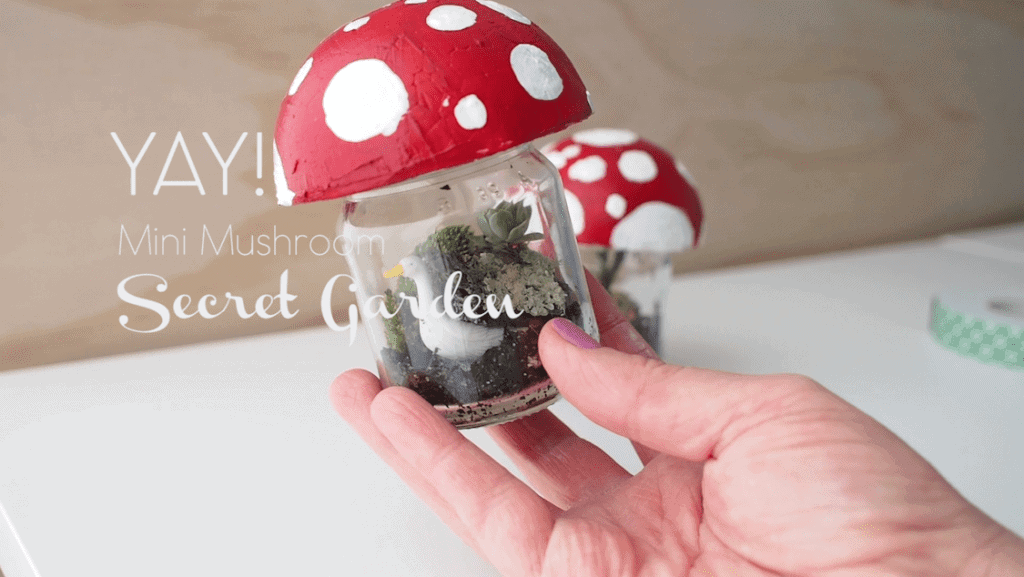
Got baby food jars? You could make a miniature mushroom secret garden
Perfect for a rainy day craft activity, or to make at a party for a a take-home party favour, these gorgeous mini-mushroom jar terrariums are a super-fun and super-cute addition to your crafting repertoire.
Recipe and images by Elise Clarkson from Pixels and Sunshine for Families Magazine – Gold Coast
A step-by-step guide to making a jar terrarium
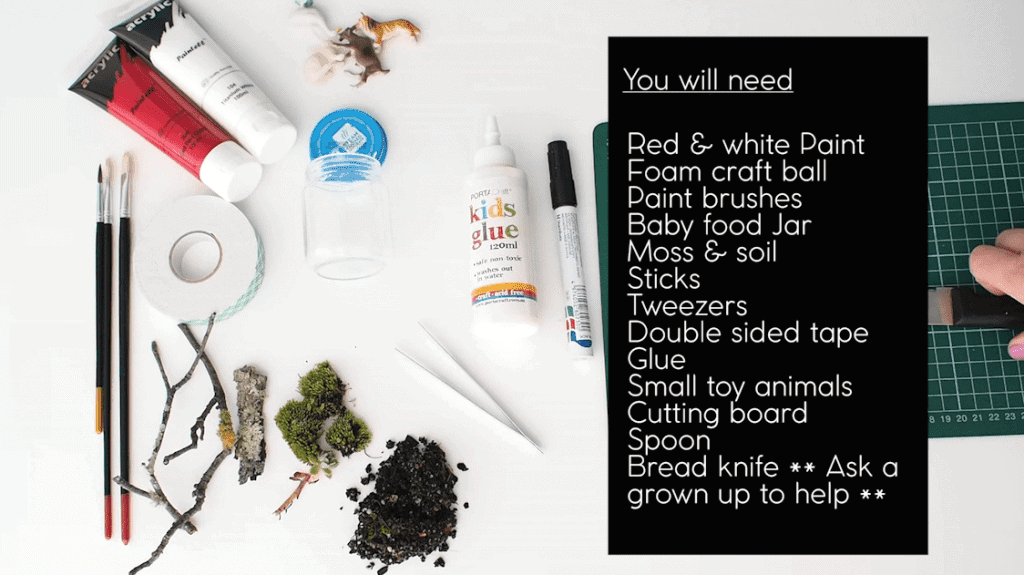
You will need;
- Red and white paint
- Foam craft ball
- Paint brushes
- Baby food jar
- Moss and soil
- Sticks
- Tweezers
- Double sided tape
- Glue
- Small toy animals
- Cutting board
- Spoon
- Bread knife
This is a supervised craft activity. Please get a grown-up to help.
How to make your mini-mushroom jar terrarium;
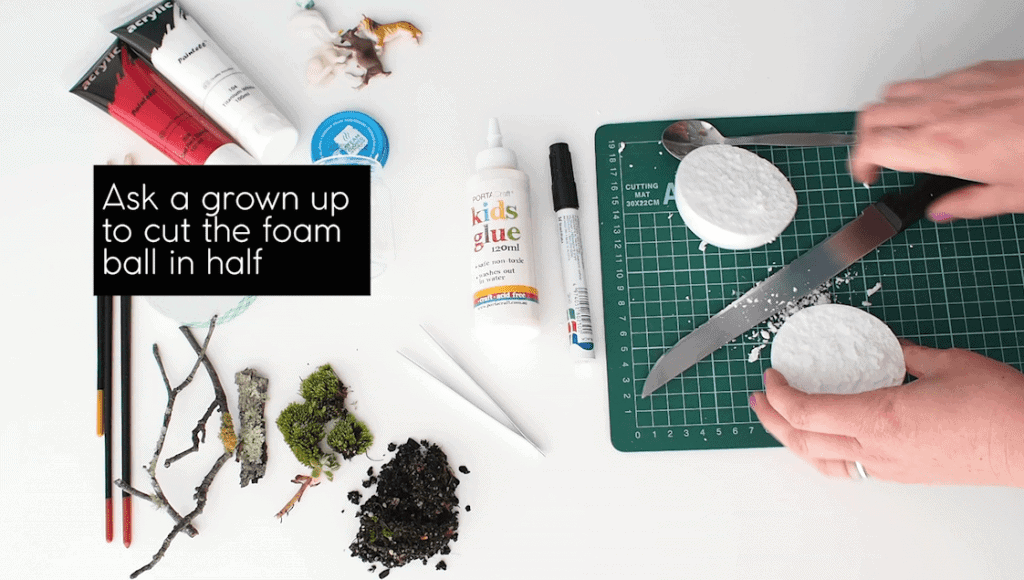
- Ask a grown up to cut the foam ball in half with a bread knife. There is a seam in the middle of the ball. Just follow the seam around for a clean cut
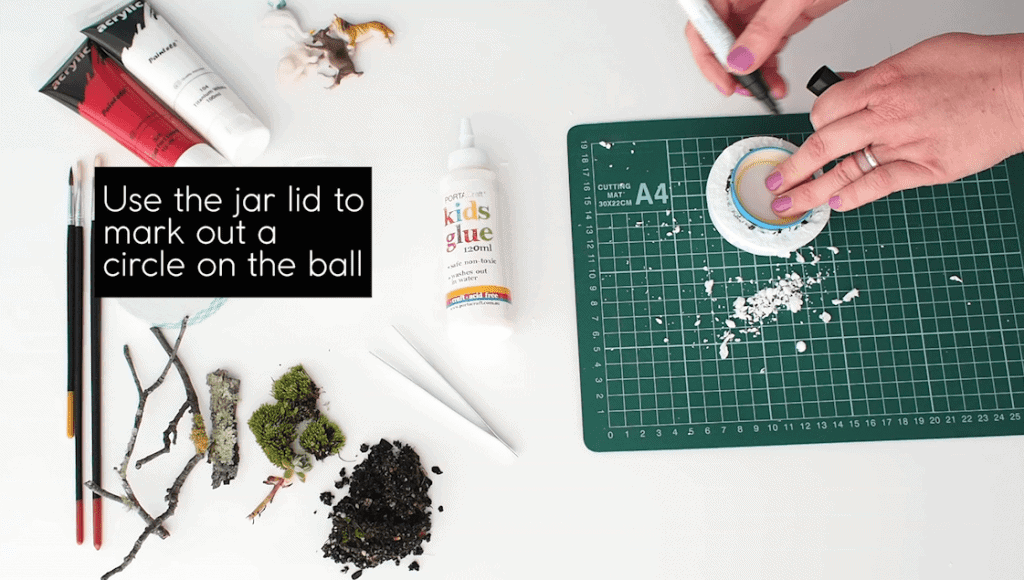
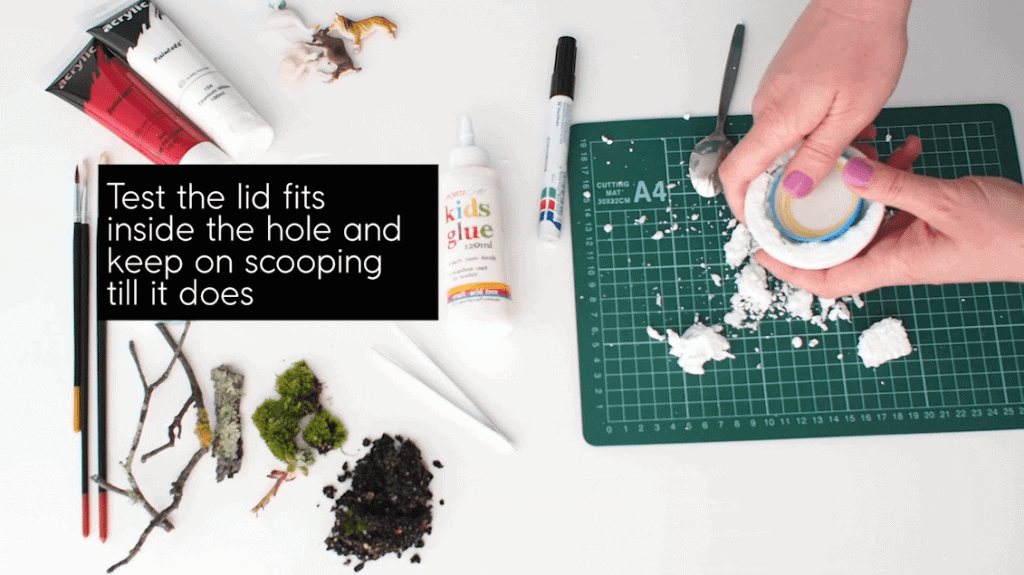
- Use the lid of the baby food jar to mark out a circle on the underside of the half foam ball with a marker
- Take a spoon and scoop out the foam so the lid fits into the hole. Keep on scooping till the lid fits in snugly
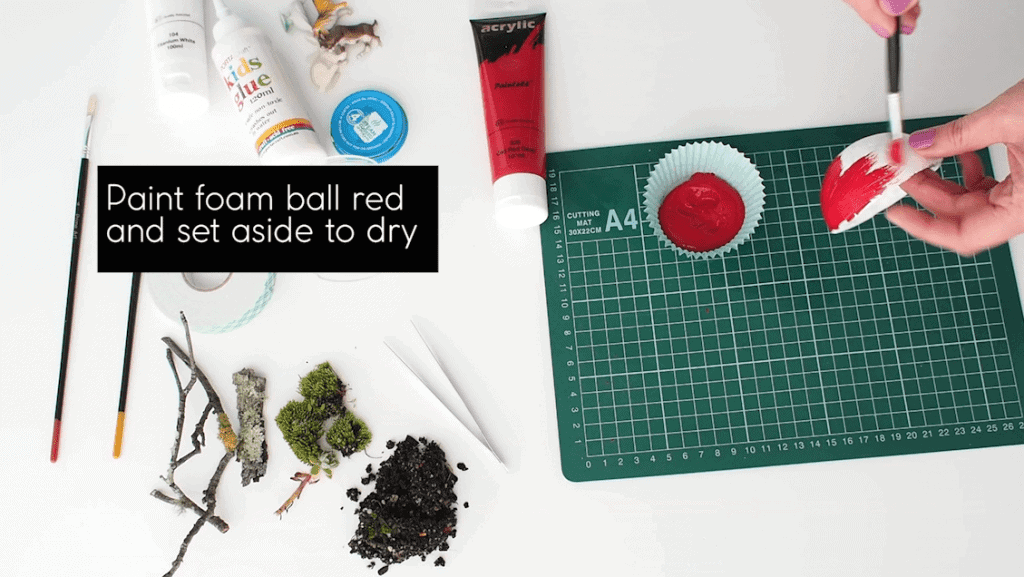
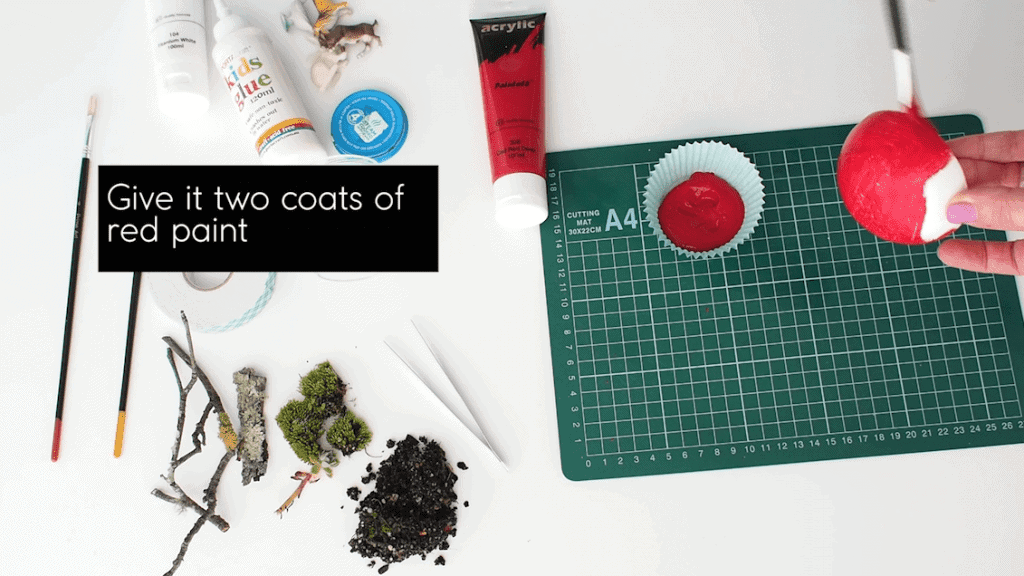
- Paint the foam semi circle red and set aside to dry. Give it two red coats for a deeper colour
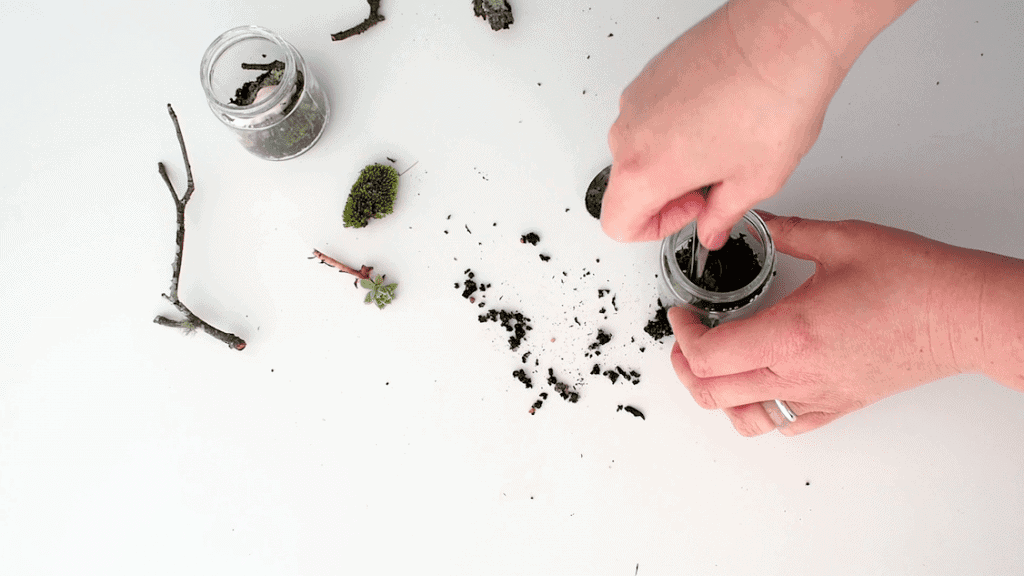
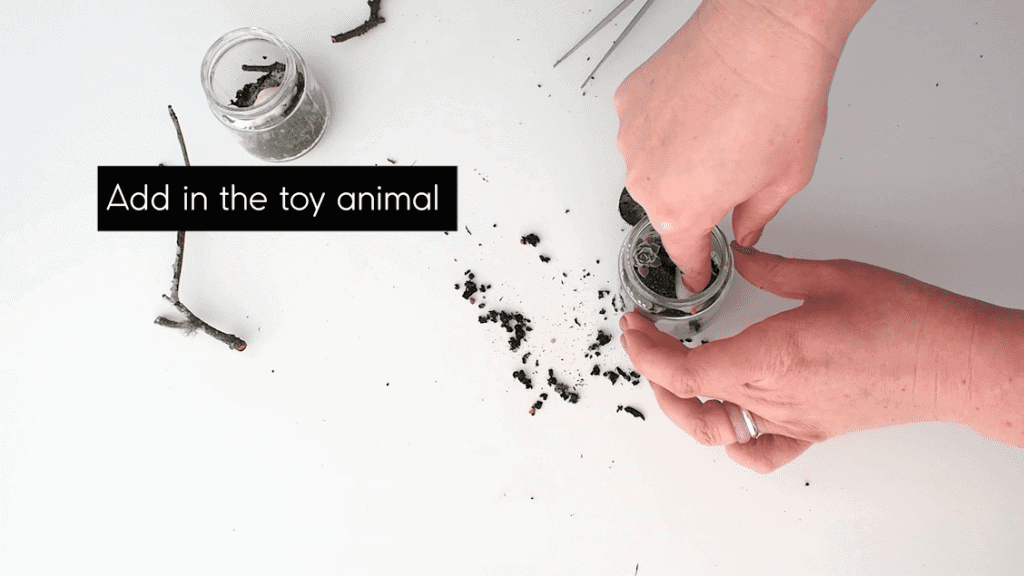
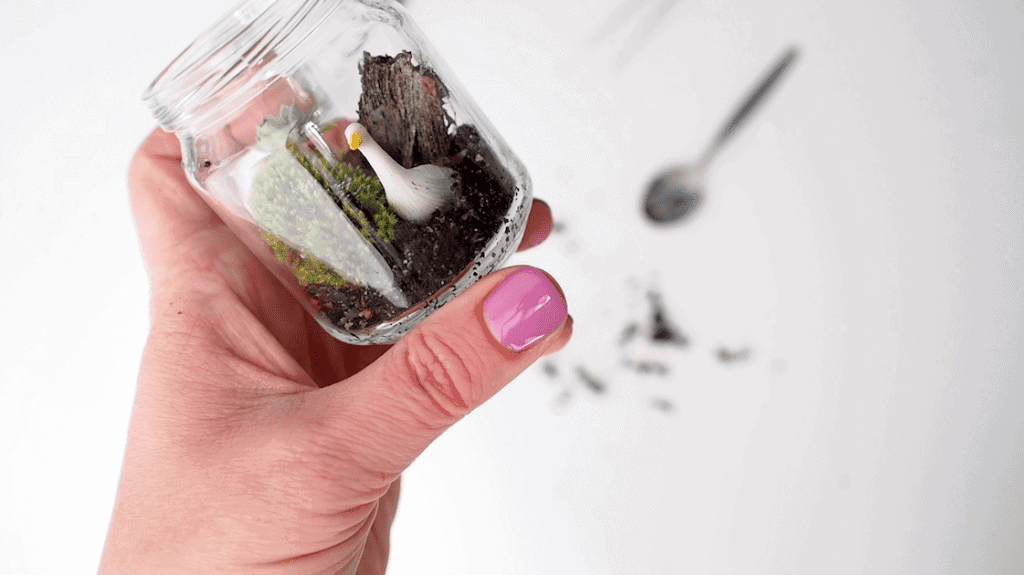
- While it’s drying assemble your garden in the jar
- First put in the soil then moss and sticks fill about ⅓ of the jar
- Add in a toy animal
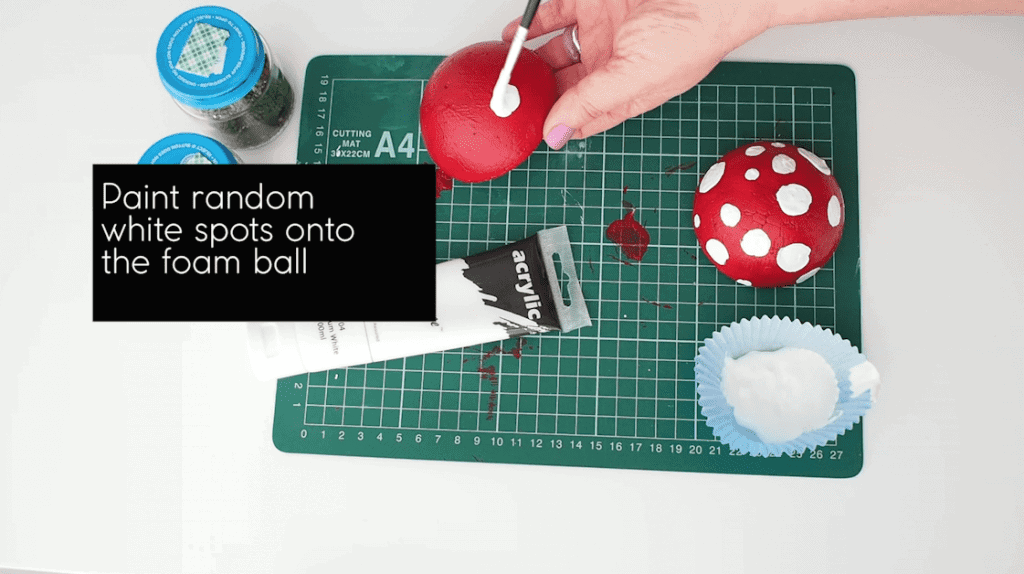
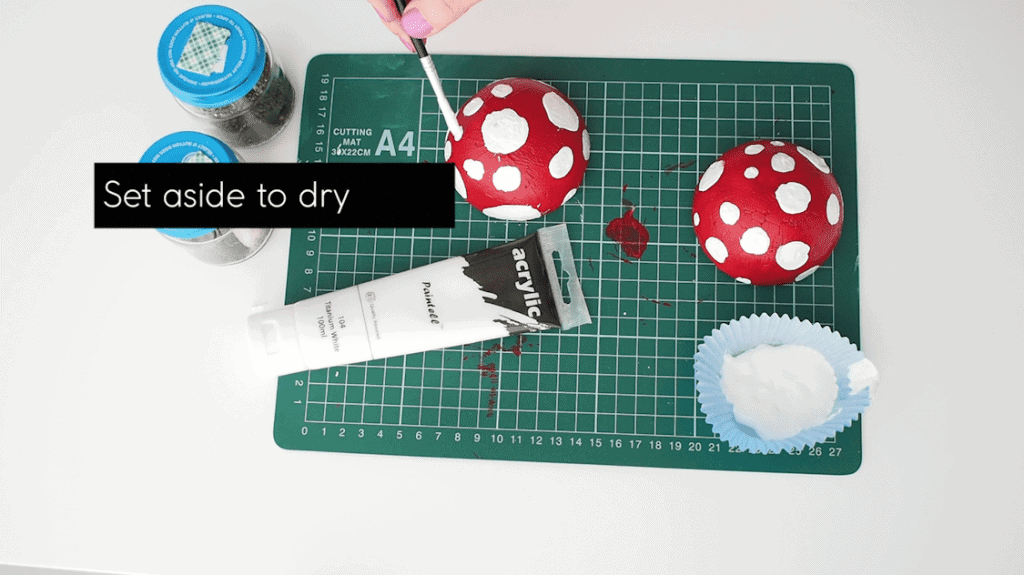
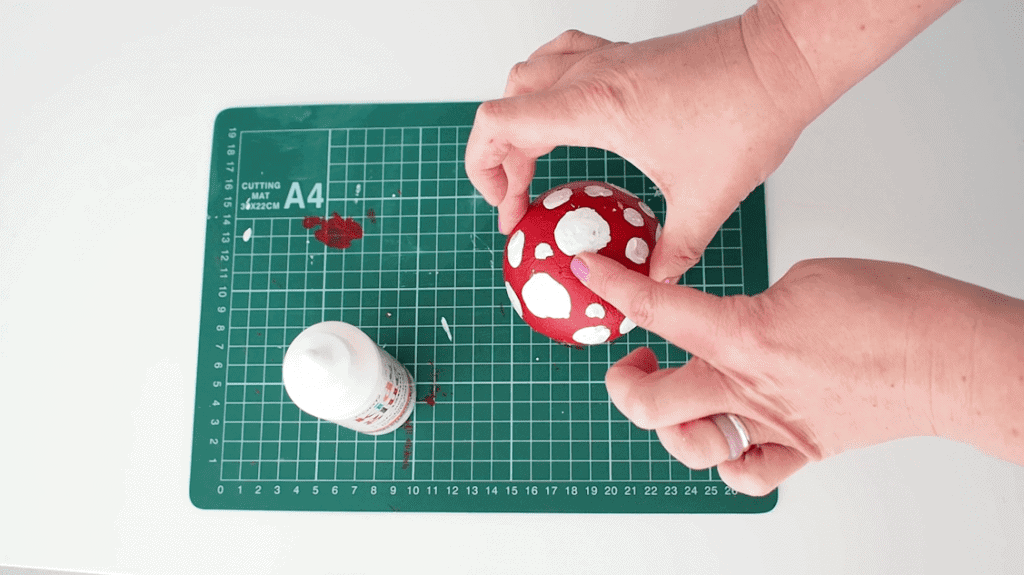
- Once the red paint has dried. Paint white dots randomly over the mushroom top
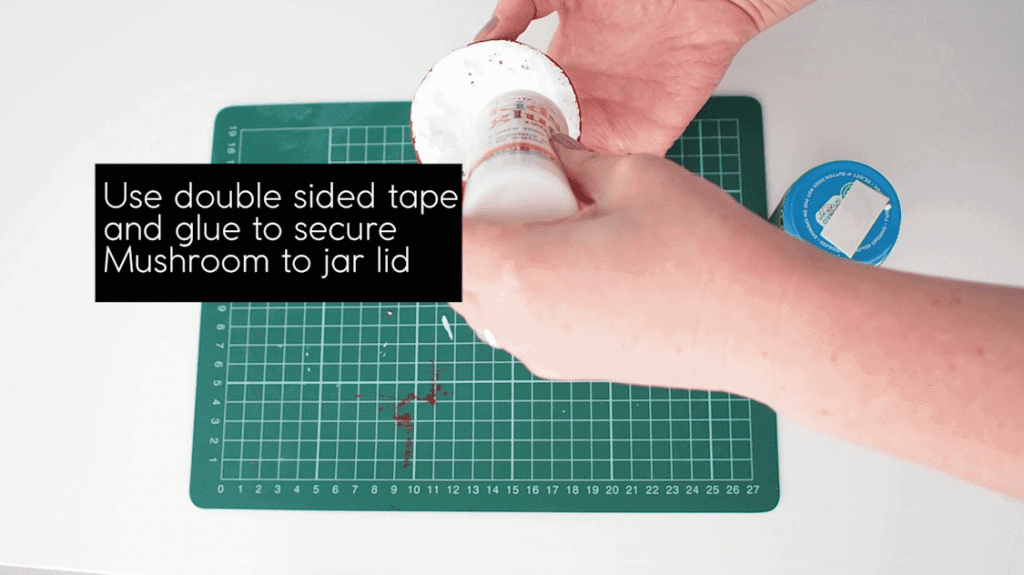
- Use some double sided tape on the lid and some craft glue to attach it to the mushroom top
- Let it dry overnight
The Nitty Gritty;
- Makes a great party favour or even group party activity
- Send the the kids on a hunt to collect the moss and sticks from your garden
- Takes about 1-2 hours to complete, plus drying time

