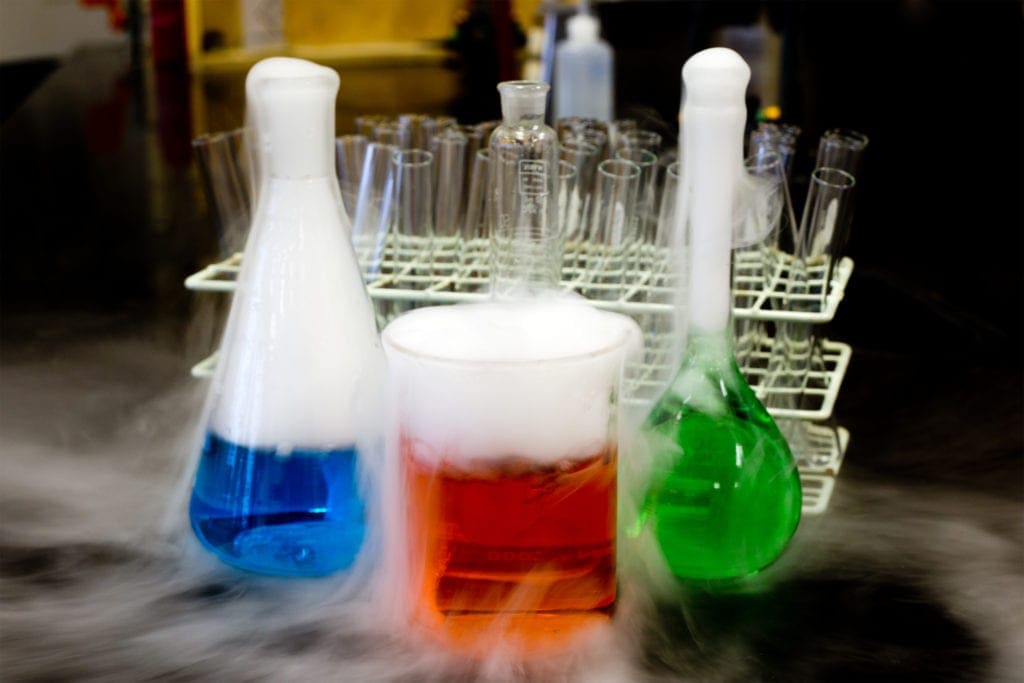
Dry ice experiments can be FUN and really appeal to science loving kids either at home or for school. If you’ve already tried some of the more simple experiments for kids, get ready because these are NEXT LEVEL excitement! You may even want to use these for a dry ice science project idea for school!
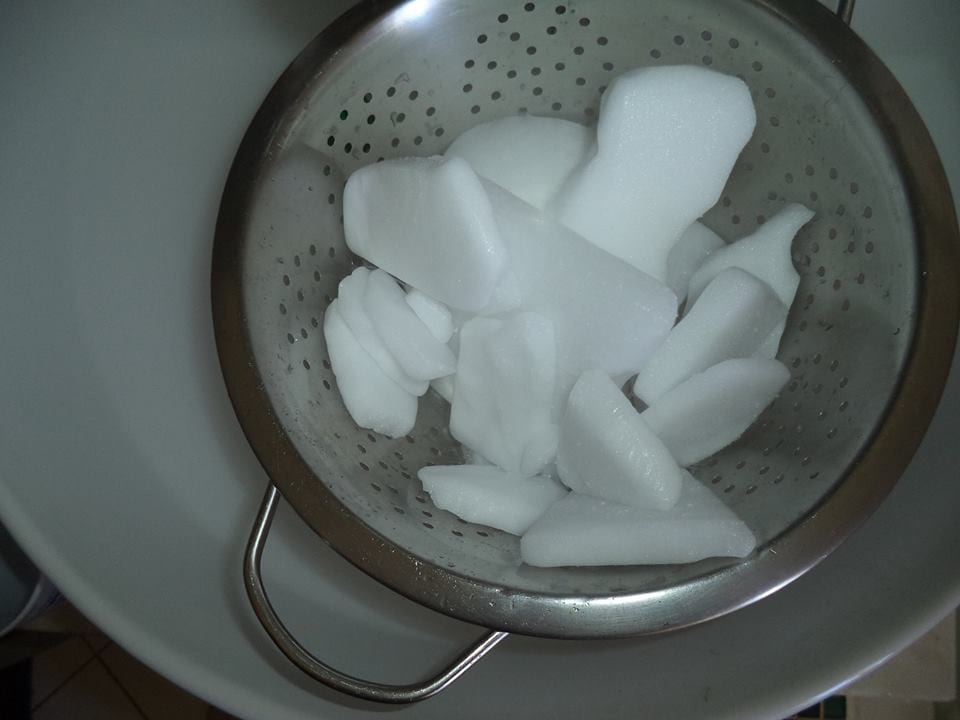
Dry ice is generally available at BOC stores and some camping supplies stores for about $20 a kilo (schools get substantial discounts at some stores). Handling dry ice is dangerous so full parental supervision is essential. Dry ice can not only burn the skin but can cause suffocation in a poorly ventilated space. Gloves and an open window are essential! You will also need a hammer to break up the dry ice and eye protection is always recommended.
Fun things to do with dry ice
We reckon these 10 fun dry ice experiments are great for school or at home. If you are using these dry ice experiments for school, your teachers will undoubtedly be all over the safety requirements. These experiments using dry ice are heaps of fun if they are done in a safe environment.
Now that we’ve got safety out of the way, here are…
10 Dry Ice Experiments for Science-Mad Kids
We’ve listed INGREDIENTS, PROCESS and the SCIENCE BEHIND for each of these dry ice experiments. Enjoy!
The first SEVEN on our list are designed for LITTLE KIDS. More exciting dry ice experiments for tweens and dry ice experiments for high school kids can be found at the bottom of the list.
Surface Tension Bubbles
You will need:
- A bowl or jug filled half way with warm water
- Dish washing liquid
- A dull blade such as a sharpening steel (this should be longer than the circumference of the bowl)
Directions:
- Coat the long blade with dishwashing liquid
- Drop a few tablespoons of dry ice into the container
- Wipe the blade across the entire surface of the container forming a sealed “bubble”
- Watch as the dry ice inflates the bubble!
This is a cool dry ice experiment this explores the concept of Surface Tension. The molecules at the surface of the liquid do not have other molecules on all sides so they form a bond more strongly with others on the surface. The detergent reduces the surface tension of water which allows a bubble to form.
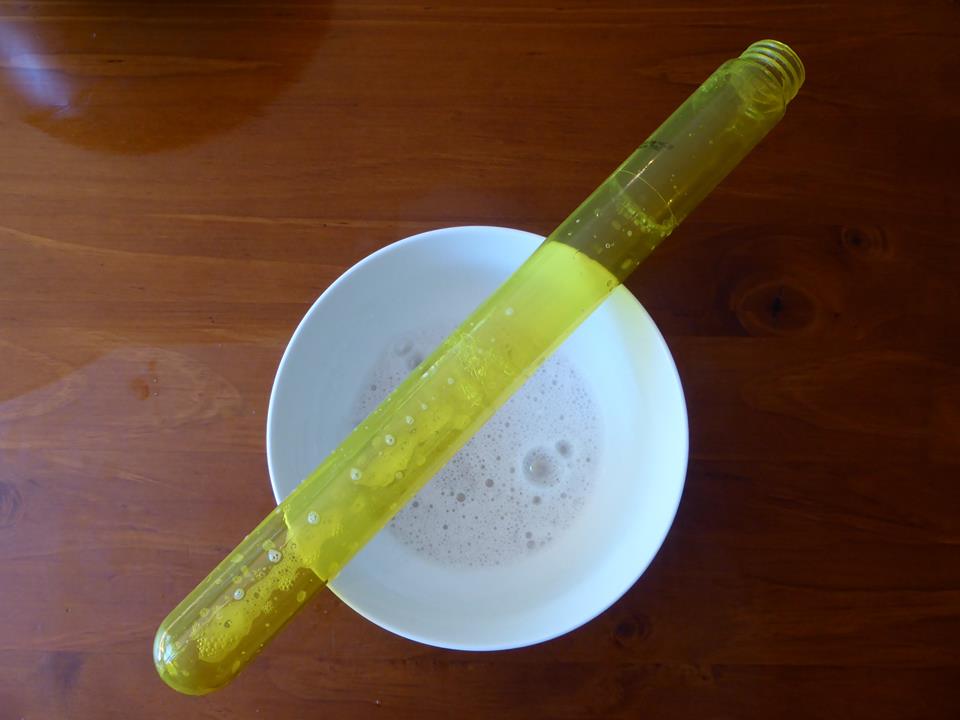
Balloon Fizzers
You will need:
- 1 litre soft drink bottle
- 1 balloon
Directions:
- Fill the bottle half way with warm water
- Drop in about 4 tablespoons of crushed dry ice
- Place the balloon over the top
- Wait for the balloon to expand. Once at capacity the balloon with either pop or fly off and race around the room
This explores the concept of Pressure. The carbon dioxide emitted when the dry ice is melted in warm water converts to gas which takes up more space and creates pressure inside the container. The rate at which the pressure mounts is based on the amount of carbon dioxide being emitted. So,the more dry ice, the more pressure, and the faster the balloon expands.
Fizzy Juice
You will need:
- 1 glass of juice or cordial
Directions
Drop dry ice into the drink and watch it become soft drink. Wait for all dry ice to be completely dissolved before allowing the child to drink
This is a cool dry ice experiement science experiment that explores the concepts of Gasses and Liquids. When a soft drink is sold, it has dissolved carbon dioxide in it – kept under pressure within the sealed bottle. When the seal is broken, the gas can then escape, in tiny little bubbles. Doing it this way does not have the element of pressure so the gas will escape – leaving only a very light fizz once the dry ice is gone.
Want more juice experiment ideas – try DIY popping pearls!
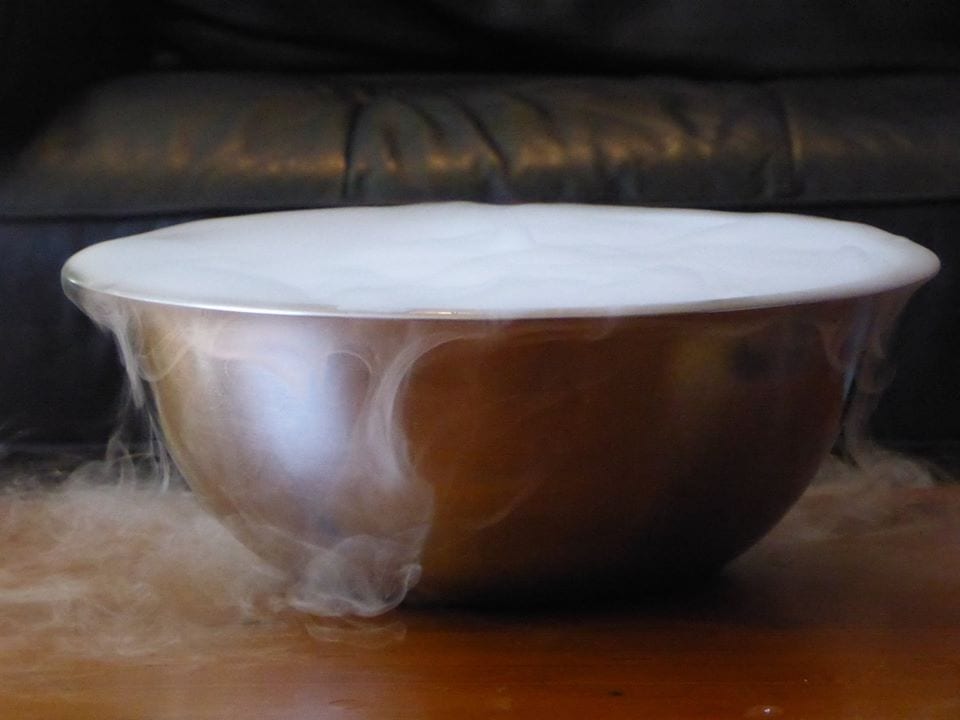
Cloud Bath
You will need:
- 1 warm bath
- 1 metal colander
Directions
- Open all bathroom windows and doors. Turn on the extractor fan
- Put child in bath
- Place one cup of dry ice into a metal colander
- Place at one end of a warm bath, instructing the child not to touch it
This explores the concept of Carbon Dioxide. Changing the carbon dioxide from solid to gas form. The gas occupies a lot more space compared to the solid form. This creates the high volume of “mist”.
Screaming Spoons
You will need:
- One cup hot water
- Teaspoons
- Other pieces of metal
Directions:
- Place the spoons “handle down” in the hot water
- When warmed (not too hot to handle comfortably) take the spoon by the scoop end and place the hot handle against the dry ice.
- Listen to it SCREAM!
- Repeat the experiment with metal of different thicknesses (metal rulers, tools Etc) to hear the different pitches of the screams!
This explores Bernoulli’s Principle of Acoustics. Different thicknesses of metal vibrate at different frequencies. Some vibrate faster and sound “higher” thicker ones vibrate slower and sound “lower”. The gas becomes trapped under the spoon and causes vibrations as it escapes around the metal.
Bubble rainbow
You will need:
- Several cups of warm water containing different coloured food dye
- Dishwashing liquid
Directions
- Line the cups up so they’re touching
- Add 1 teaspoon of dishwashing liquid to each cup
- Drop 1 tablespoon of dry ice into each cup
- Watch as they form a bubble rainbow
This explores the concept of Molecular Science. A bubble is actually two layers of soap molecules with a layer of water trapped within. Inside the bubble the carbon dioxide is “pushing out” and the air around it is “pushing in” – the result? The bubble takes a rounded shape from the pressure around and within it.
Disappearing Eggs
You will need:
- One 2 litre bottle with lid
- Plastic piping (approximately 1 cm in diameter) placed and sealed towards the top of the bottle. The unconnected end should be clean cut
- Dish washing liquid
Directions
- Fill the bottle half way with warm water
- Dip the unattached end in dishwashing liquid
- Add ½ cup of dried ice
- Replace the lid forcing the escaping carbon dioxide into the pipe forming “white egg shaped bubbles”
- Remove the lid when the bubble is “egg sized” stopping the flow of carbon dioxide
- Allow the child to “pick up” the egg, watching it disappear in a puff of gas!
This explores the concept of Molecular Science. A bubble is actually two laters of soap molecules with a layer of water trapped within. Inside the bubble the carbon dioxide is “pushing out” and the air around it is “pushing in” – the result? The bubble takes a rounded shape from the pressure around and within it.
Dry Ice Experiments for Science Loving Teens and Tweens (or for school science projects)
Note that “undetonated” rockets, missiles and bombs can be dangerous. It’s recommended that you keep well back from failed experiments. Bottle Rockets can also get a “second wind” so be careful handling all spent projectile experiments.
Canister Missiles
You will need:
- Empty film canisters, Barocca tube or similar (do not use glass)
Directions:
- Half fill the canister with warm water
- Add 1 tsp dry ice
- Place the canister on a flat surface, lid side down
- Get back to a safe distance (you have 20 – 60 seconds to get back a reasonable distance)
- The canister will “launch” like a missile
This explores the concept of Pressure. The carbon dioxide emitted when the dry ice is melted in warm water creates pressure inside the container. This creates “pressure”. The rate at which the pressure mounts is based on the amount of carbon dioxide being emitted. So, more dry ice, more pressure, faster explosion!
Bottle Rockets
You will need:
- Empty “buddy bottle” sized bottles with “pop tops” – pop top 600 ml juice or water bottles are ideal
- Cardboard “cones” taped to the base of the bottles (to form rocket shape)
- A small bucket or plant pot about 2/3 as tall as the buddy bottles
- Where available a 4-5 cm wide, 90s style chunky bracelet (available from op shops everywhere) can be used to mount the bottle rocket vertically inside the bucket.
Directions:
- Half fill the bottle with warm water
- Drop three table spoons of chipped dry ice into the bottle (until it’s bubbling rapidly)
- Ensure the “pop top” is closed and screw the lid onto the bottle
- Drop the bottle into the bucket “pop top down” making sure the bucket is stable and the bottle is resting its weight on the closed pop top.
- Move away quickly. You have 20 seconds to 240 seconds (depending on exact water temperature and volume as well as the amount of dry ice in the bottle) to get to a safe distance.
- Wait for it…. Bam…. Watch your rocket launch
- Experiment with quantities to quicken and lengthen launch times and distances. Remove the nose cone and see the rocket scurry about with no direction.
This explores the concept of Aerodynamics. When it moves at speed, the air that goes over the cone (or a plane dome) the air spreads creating equal pressure on all sides. This makes it fly straighter. The force is symmetrical. So this will help your rocket stay moving in one direction. The faster it goes the straighter it flies.
Dry Ice Bombs
You will need:
- Nerves of steel. This is not advised for those with heart conditions and will frighten small children. This is extremely loud. Hearing protection may be of benefit.
- A large remote area for detonation (think fields, remote parks or beaches)
- 1 and 2 litre soft drink bottles, juice bottles, milk bottles etc (no glass, card or metal – plastic only)
Directions:
- Fill bottle half way with warm water
- Add 1 cup of dry ice per litre capacity of the bottle
- Replace the cap tightly
- Throw the bomb as far as you can and make sure you’re a long way from it (20 meters or more)
- You have 30 seconds to 5 minutes before the bomb will explode. The suspense is nerve wracking.
- BOOOOOOM!
- Experiment with types of plastic and different sized bottles to determine which is the most explosive under pressure.
This explores the concept of Tensile Strength: Different kinds of plastic have greater resistance to pressure. Softer two litre milk bottles will give less resistance and therefore be quicker to explode and the explosion less spectacular. Meanwhile juice and soft drink bottles are made of “tougher” plastic, better able to withstand pressure and therefore can hold their shape longer and tend to explode more spectacularly.
Share your dry ice experiments with others!
There are dozens of experiments you can do at home with dry ice with very little set up. It’s well worth a trip to the local Gas Shop (BOC) or saving your dry ice blocks from your frozen delivery meals. Dry ice experiments are a great way to introduce different strands of science to young minds… while you know… blowing stuff up. Always good times!
Wow, I never knew that there is a version of the bottle rocket experiment that requires dry ice. When I was a kid, that was my favorite science experiment in high school because of how high the bottles went. Maybe I should try this experiment again with my kids so that they can enjoy what I enjoyed when I was a high school student.